

- button covering kit (I used 18mm ones)
- bobby pins with pads
- pretty fabric scraps
- strong glue for metal (or glue gun)
- small cutting pliers

Step 1: Cut circles of pretty fabric using the template from the button kit. I would recommend ironing the fabric before so it's nice and smooth.

Step 2: With a pair of small cutting pliers, gently cut the button shanks and remove them.

Step 3: Cover the buttons with the fabric according to the kit instruction. I like to apply a little bit of fabric glue to the top of the button to prevent the fabric from sliding.

I love this transparent mould! You can see exactly how the button will look like.

Step 4: This step is a bit tricky, but I am sure you can manage. If the pad of the pin is pushed too far from the curve, you might need to use a pair of needle-nose pliers to move/slide the pad just a bit closer to the curve so that the button sits on the pad flatly. Make sure that you do not bend the pad.

Step 5: Using a small amount of strong glue for metal or a glue gun, adhere the buttons to the pins. Let it set for an hour.
Note: If you would like to make pretty needle minders, instead of pins, use strong round magnets. :-)

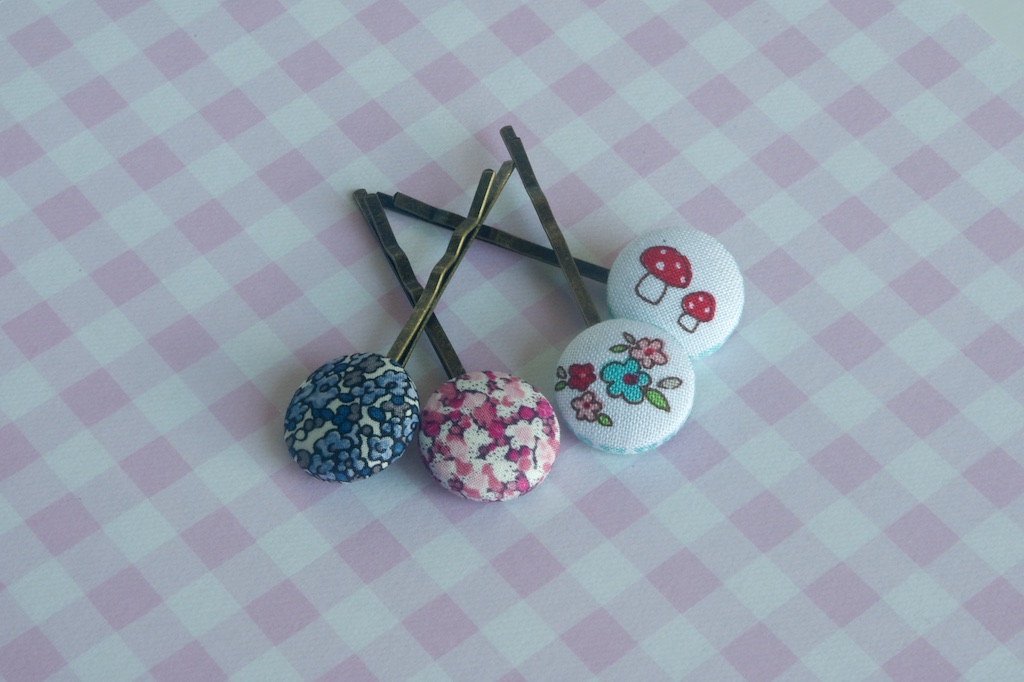
All done! Now you can make some pretty cards to hold your bobby pins and they are ready to be gifted to someone special.
For my cards I used two types of thick scrapbooking paper. I made two cuts for the pins and glued on some pieces of ribbons. Easy!

This is for you, Ann. :-) Happy crafting! Larisa xox
Such a sweet idea! Thanks for the tutorial, Larisa.
ReplyDeleteYou are welcome, Dina! I am glad you like it. :-)
DeleteThank you so muuuuch for this tutorial! :) Absolutely love these hair pins, can’t wait to start making some! :D
ReplyDeletexx
You are welcome, Ann! Enjoy! I am sure you won't be able to stop making them after you make the first one. :-) xox
DeleteFantastic Post! Lot of information is helpful in some or the other way. Keep updating
ReplyDeleteget the choicest brand of needle nose pliers